2 Color, Tone-On-Tone Paint Ragging Instructions

Subtle ragging effect in 2 similar paint shades
This technique is a logical continuation of ragging on one color - it begins where the basic method leaves off.
This process adds a second color glaze to the mix, providing additional depth.
You should include this extra step whenever you want a more textural appearance on your surface. If desired, you can extend this method to include a third color glaze.
In this example, the base coat is an off-white latex paint. The first glaze coat is a warm beige; the second glaze coat, a light mocha color.
Preparation
The preparation, as well as the tools and materials you'll need for this process are the same as in the basic tutorial for ragging on 1 color (plus 1 extra paint color and an extra container for the second glaze).So read that first, and mix your glazes following the recipe on that page.
Application
1) Apply the first color glaze (the lighter of the two - that way the color combination will look more organic and create more depth).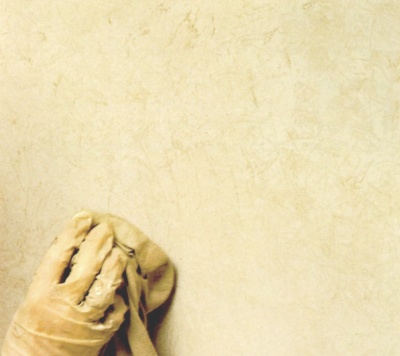
Work from top to bottom, in horizontal strips.
Let it dry completely before continuing, so you don't smudge the finish.
2) Add the second (darker) colored glaze, this time starting in the top left corner and working vertically down, in 2-foot wide strips.
The reason for changing the working direction is, it will help prevent creating an identifiable pattern, and blend in any visible transition edges in the previous coat.
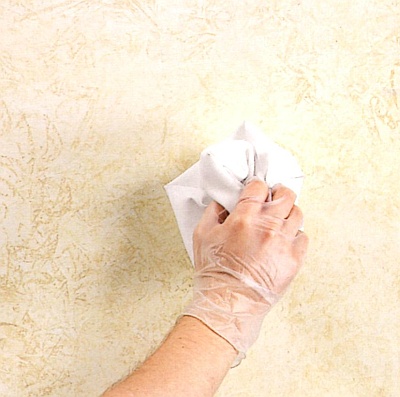
Use the same technique you used for the first coat, but here you want to focus primarily on filling in the open areas in the previous layer.
At the same time be sure to let some of the base color show - it will contribute to the contrast of the finished effect, and add more dimension to the finish.
3) Every now and then, step back and view your result. It should look random, yet overall should appear even when seen from a normal viewing distance.
If needed, add more glaze to any areas that look unbalanced.
Touch up the corners and edges as you get to them - don't wait to do it all at the end, because then the pattern may look more obvious and create a "frame" around your walls.
Return to Ragging On Paint Techniques.


