3 Color Ragging On Decorative Painting Technique

Additive paint ragging created with 3 colors
This multi-tonal rag painting method uses 3 colors from the same paint strip, to create an interesting yet subdued effect.
And even though you'll work with 3 glazes here, the process should be much faster than traditional ragging techniques.
You won't have to go over the same surface 3 times with a rag in your hand in order to create this finish, because the first 2 glazes are rolled on, and only the last glaze is applied with a rag.
Consider it a lazy person's way to multi-colored rag painting!
Preparation
TIP: unless your existing wall paint is a very deep or saturated color that you think may bleed through, you don't need to apply a base coat.
If your walls are painted white or a neutral color right now, you can roll and rag your glazes right over it, because the first 2 glazes will cover it anyway.
Otherwise prime or paint the walls a neutral shade first.
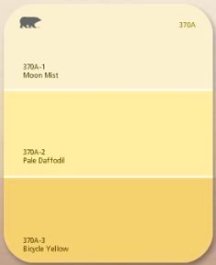
NOTE: for your glazes, choose 3 related colors - 2 of them should be near each other on a color chart, and the 3rd one considerably lighter.
In this tutorial 2 shades of yellow and a cream tint are used together.
Application
1) Mix the 2 darker glazes in 2 separate paint trays.Using a small roller and working in 3'x3' sections, randomly roll the darkest color on the wall (aim for about 50% coverage of the base coat).
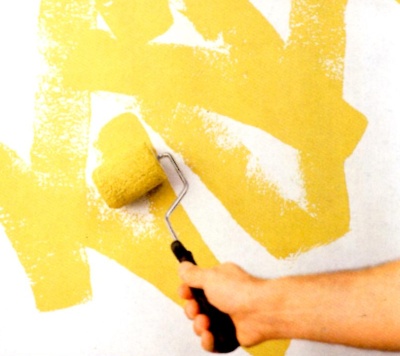
2) Immediately, while the 1st glaze is still wet, roll on the 2nd (medium) color glaze, blending it a bit into the 1st glaze as you go.
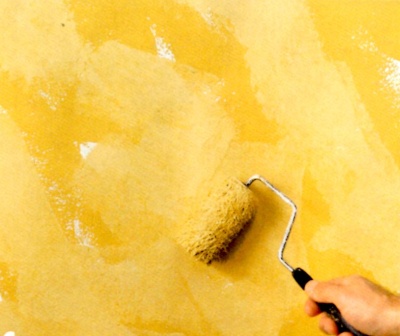
The painted section should now be covered with variations of the two blended glazes, with very little to no base coat showing through.
3) Repeat on the next section, blending it into the previous one.
Don't leave any hard lines from the rollers, or visible edges where the two sections join - keep blending (work with both rollers, one in each hand, if needed).
Continue until you cover the entire surface. Allow the walls to dry thoroughly.
4) Submerge a rag into the 3rd (lightest) color glaze and squeeze it out. With the rag loosely wadded, press it against the wall.
Try to have enough glaze in the rag so it shows but not so much that it runs when pressing.
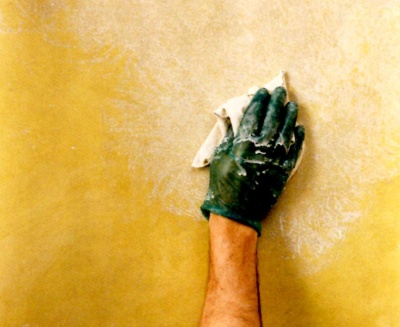
Here the coverage can be as loose or as dense as you prefer - depending on how much of the under-painting you want to show through.
Turn your hand before each stroke, and re-gather the rag every few strokes to keep the imprints looking random.
Reload the rag regularly to maintain an even distribution of color, and continue in this manner until you've covered the entire surface.
Do the corners as you get to them for a better blended result.
Return to Ragging On Paint Techniques.


