Ragged Faux Finish Techniques:
Ideas and Examples
The look of positive and negative rag painting varies a lot. The final result of this faux finish technique depends on the material chosen for the rags, the way the rag is scrunched when applying or removing glaze, and the color combination selected for this decorative finish.
The examples below show just some of the effects you can achieve with this paint method, and its applications, but even more are possible when you let your creativity go and start experimenting for yourself (on sample boards first)!
Examples of Ragged On
Faux Finish Techniques
...a.k.a. positive/additive rag painting
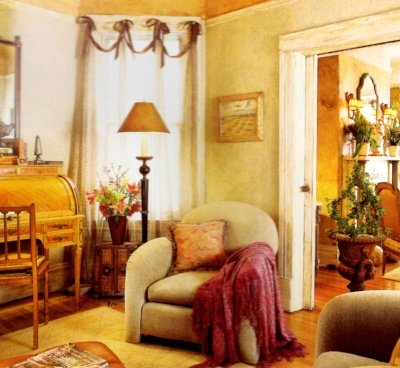
In the photo above, the tone-on-tone ragged on walls create an excellent backdrop for the aged/distressed woodwork and the casually elegant and antique furnishings in this room.
But such light-weight, subtle and blended glaze color combinations make this faux finish very versatile: it will work equally well even in bold and graphic contemporary decors.
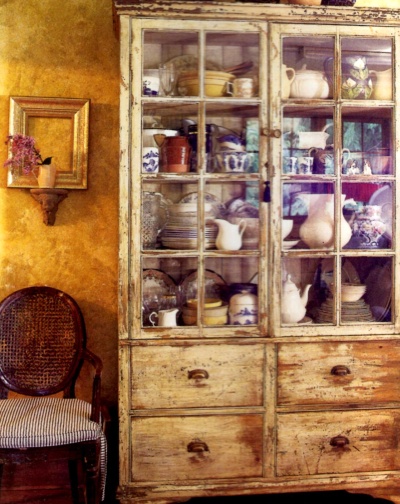
Done with the same technique but more contrasting colors (as in the example above), the opposition of the light base coat and the darker glaze creates much more depth and texture.
Also contributing to the depth is the tonal variation of the imprints, caused by the rag's losing paint as you work,
then being replenished, and coming back darker.
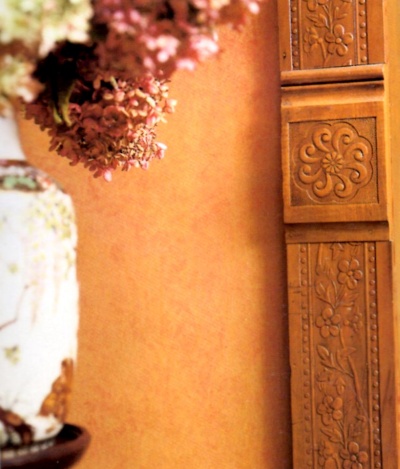
Even strong paint colors can look blended and soft when diluted with enough clear glaze in a recipe.
The translucent layering of deep pink over yellow in the picture above is a good example - the faded effect enriches the walls and adds to the timeless woodwork and decor, without competing for attention.
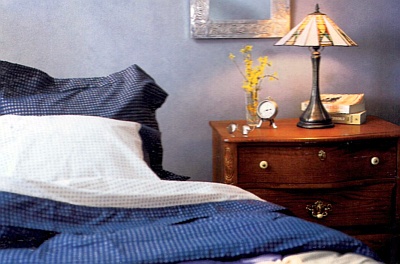
Here, 2 close shades of blue were chosen to create a peaceful bedroom look and feel.
Executed with a cheesecloth and a minimal difference between the paint/glaze colors, this faux finish technique creates an illusion of sueded walls.
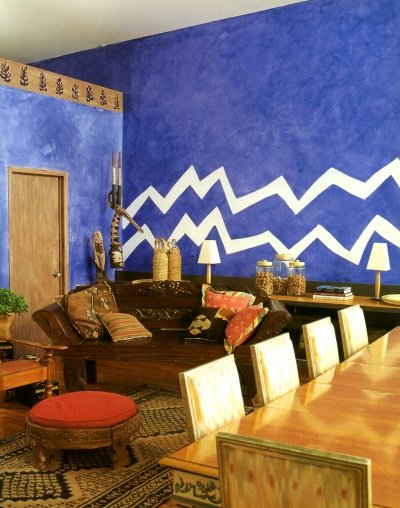
And here, a somewhat chalky ragged finish was achieved - by applying a lighter glaze over a darker colored base coat, with a cheesecloth rubbed and patted all over the walls.
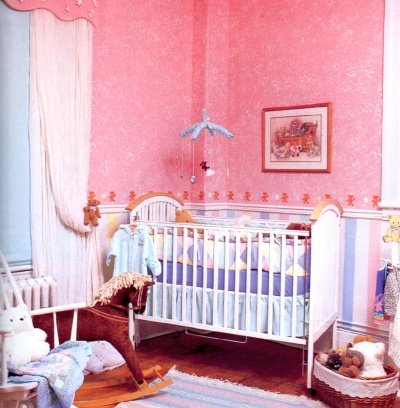
In this baby's nursery, a vivid candy pink was given a dreamy appearance by ragging on some white paint over the surface with a scrunched up plastic bag.
If the color you purchased for your walls turns out to be too intense, positive ragging can be an ideal solution to tone it down a notch.
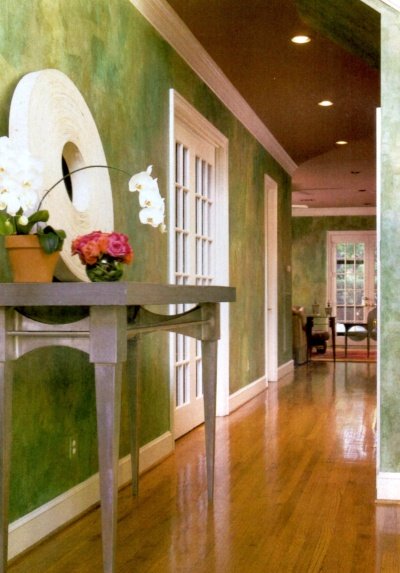
A more complex layering of glaze in this entryway combines 8 different colors - 3 shades of green, 2 shades of amber, 2 shades of ivory, and lavender - into one custom ragged on paint treatment.
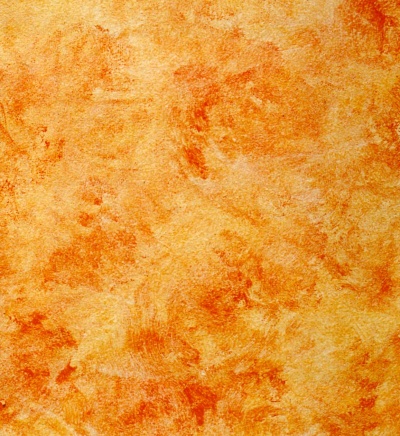
When ragging on with strong colors, it's generally best to apply the more intense color (in this case red) first, with the other color (yellow in this sample) glazed on top.
Notice the areas where the base red is partially covered by the top yellow glaze - a secondary tone (orange), combining both colors, has been created.
The layering of translucent colors produces this third color, which is naturally and automatically harmonious with both initial colors.
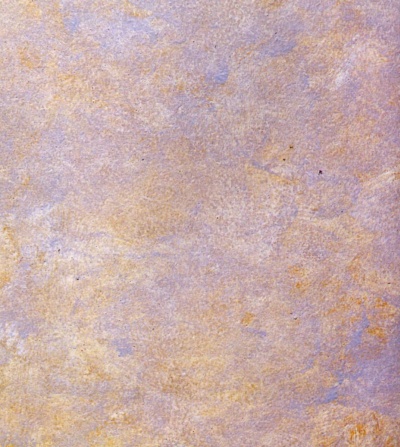
Another way to use this layered color technique is to combine complementary colors (those opposite on the color wheel).
The photo above shows an example using orange and blue. The orange glaze is applied first, followed by the blue glaze. Where the blue overlaps the orange, gray is created (that's what happens when you combine complementary colors).
These gray areas tone down the vibrant surface, making it easier to live with the combination of such strong and different colors.
The success of such translucent color layering method depends on a broad range of opacity within each layer - you want to create tonal variation with each mark you make.
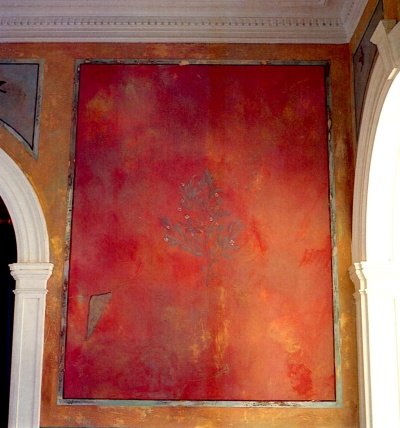
Fresco painting seems like a complicated faux finish technique, but it's really just basic rag painting and sanding.
In this magnificent hallway, the base was done using several layers of progressively muted colors, with some areas sanded off to give the illusion of age. The stencil was applied on top to complete the faux fresco effect.
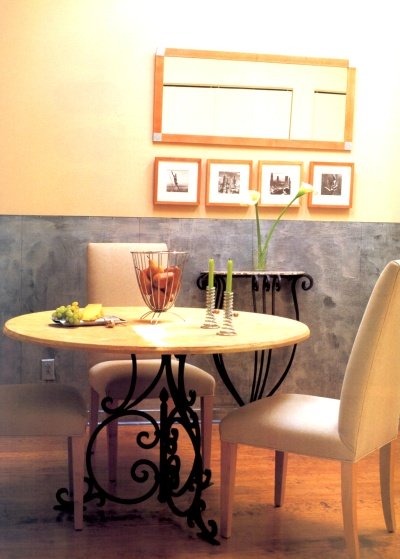
And in this example, rag painting and sanding were used to create a faux finish that resembles brushed steel on the dado part of the walls.
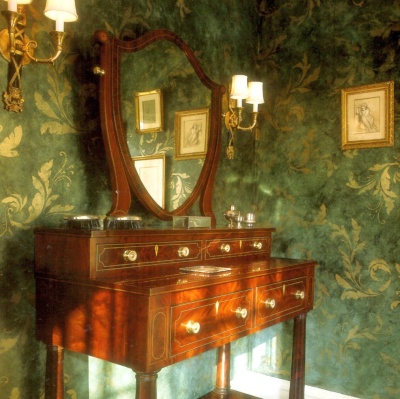
Stenciling is very compatible with both positive and negative ragged faux finish techniques: it adds even more dimension and depth to the glaze, and can also make rag painted walls look like wallpaper.
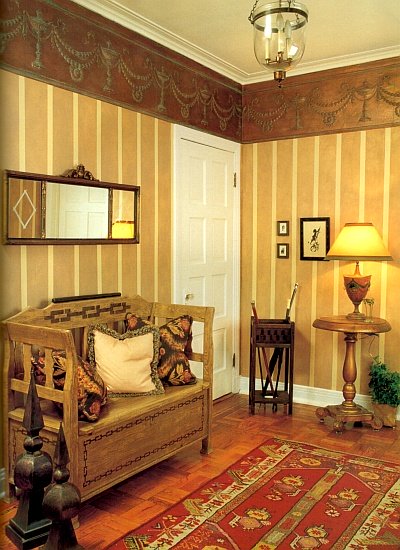
But combining rag painting with striping is also a great way to mimic wallpaper, if you don't want the trouble of applying and eventually having to remove, the real thing.
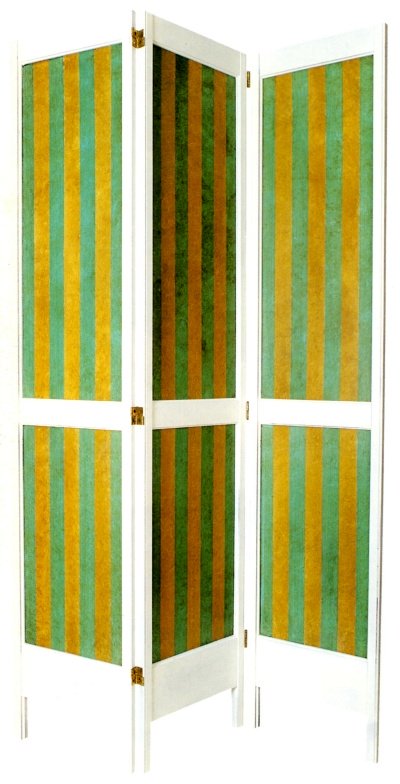
The striped and ragged screen above shows how effective this technique can be even when used in small doses, to help add some color and texture to a drab interior, and create a focal point of visual interest.
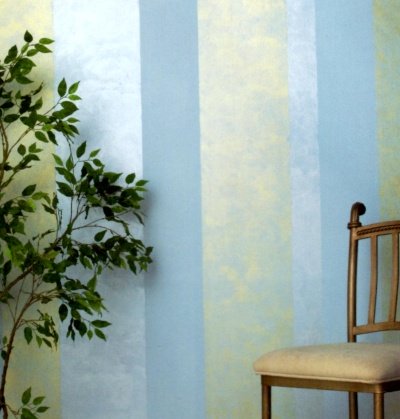
To give any painted wall an instant dash of class, tape off some stripes and rag them with a gold, silver or bronze metallic glaze.
Metallic finishes used this way will add some shimmer and sparkle that will enrich the walls without overwhelming the eye.
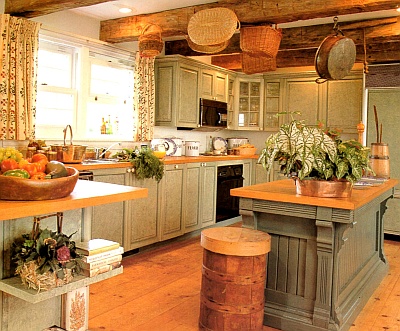
This kitchen with pine cupboards was ragged with historic paint colors, to give the whole room a country style.
With a couple of coats of varnish applied to the painted surfaces, the finish will be well protected, and stand up to everyday wear and tear.
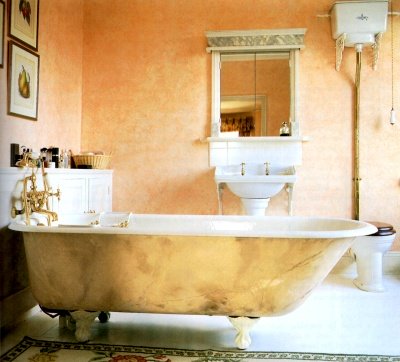
Rag painting is often one of the steps in other, more complex faux finish techniques such as marbling.
To create an illusion of marble, this bath was basically rag painted with a cheesecloth in several tones of raw umber over white, and then given a few "veins" using a small artist's brush.
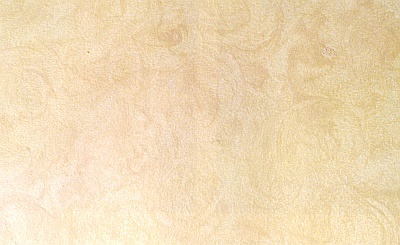
This stylized floral effect was created by applying the glaze with a twisting, repetitive motion of the rag on the surface.

And here, instead of dabbing the rag on the surface, it was shaped into a long cylinder, and rolled on the wall, top to bottom.
The completed effect has a more linear pattern than regular ragging, thanks to the shape of the cloth.
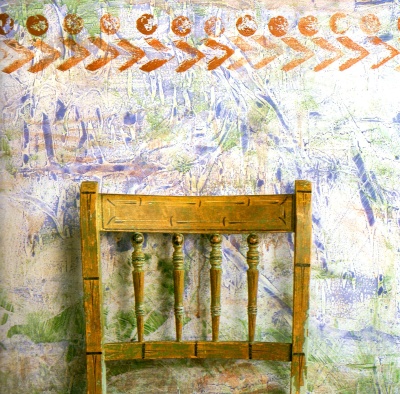
Finally, these bold imprints were left by paper and plastic bags covered in glaze.
The choice of colors and the random application make the finish look like an old concrete, graffiti-ed wall.
Examples of Ragged Off
Faux Finish Techniques
...a.k.a. negative/subtractive rag painting
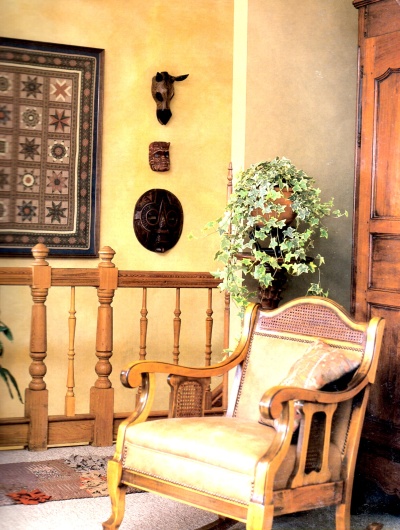
Just like positive ragging, negative rag painting lets you create various looks and vibes in a space.
Shown here (the yellow hallway) is a rather open and airy application, done with a cheesecloth over a considerably lighter base coat.
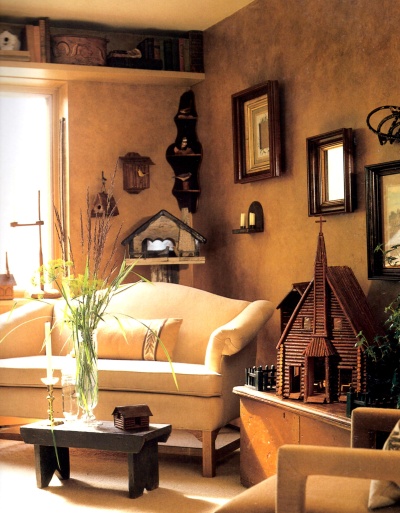
The negative ragging technique in the photo above enriches a living room with earthy, muted tones.
The density and low contrast of the ragging finish looks more reserved, while still offering a handsome background for the wall decor.
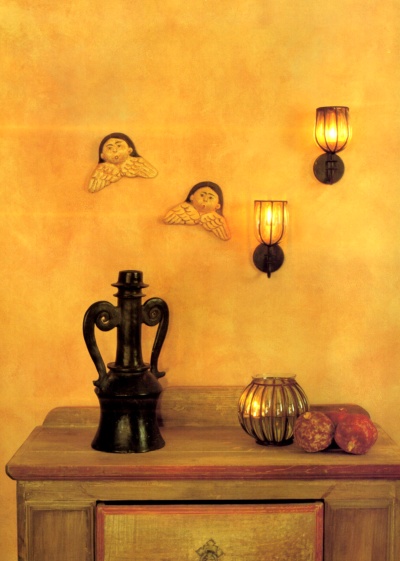
This faux finish technique is also a good example of how applying (and then removing) a darker, contrasting top coat of glaze to a light or medium-colored base coat of paint creates a richly textured appearance, without the application of new plaster or drywall compound.
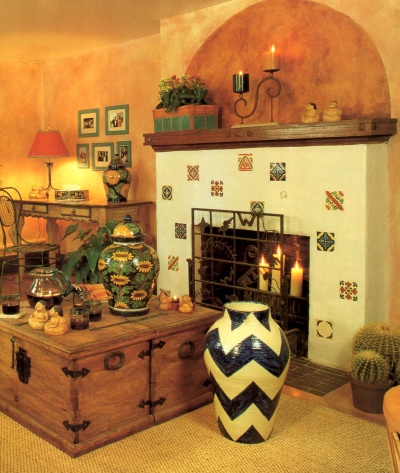
In the photo above, negative ragging is used to create an illusion of plaster on the walls, further reinforced by the choice of decor in the room.
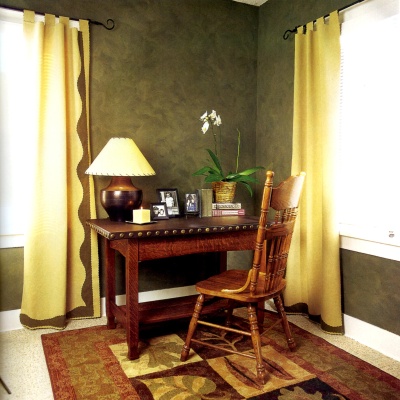
The suede-like walls make this corner a comfortable spot for homework or household bill-paying.
The key to this look is using low-contrast, organic colors and working with a cheesecloth in a pounce-and-drag fashion.
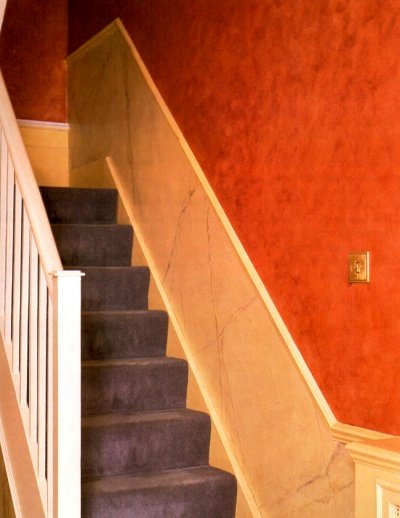
This is another example of faux suede, created with the same negative ragging faux finish technique but in different, more dramatic (while still realistic) colors.
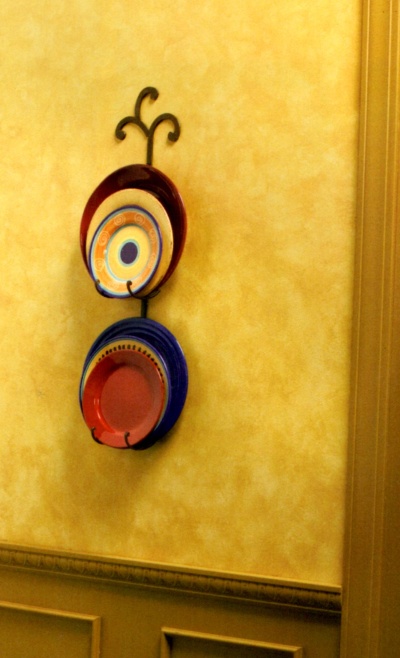
This buttery tan wall finish still resembles suede but is less convincing than the previous examples, because the contrast between the base and top coats is more pronounced.
Still, the soft yet rugged effect is a beautiful complement to the surrounding woodwork and wall decor.
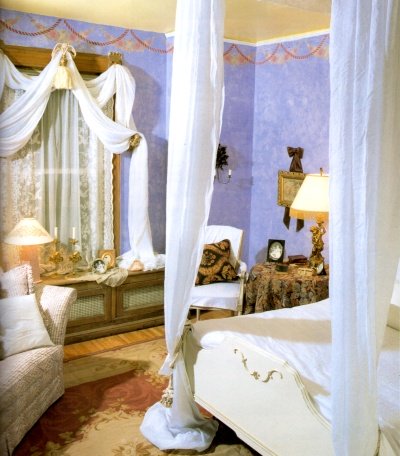
This execution of ragging looks almost like the effect produced by sponge painting - with distinct specks of color.
The purple color combination and the stenciling add an element of playfulness and charm to this old-fashioned bedroom setting.
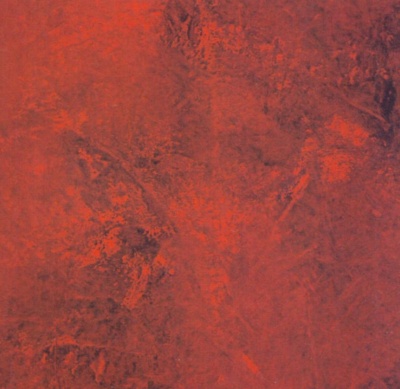
And while you don't always want your rag painting to look realistic, this faux finish technique can produce some stunning surfaces of great depth and sophistication that can truly fool the eye - like the Moroccan leather effect shown here.
By the way, this technique is also known as parchment and is done with newspaper - the difference in final result is only determined by the colors you use for the paint and glaze coats.
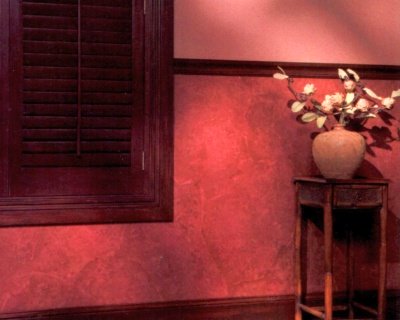
The same faux leather treatment applied to the lower portion of the wall gives this den a refined air.
For it to look believable, you need to select colors based on the most common colors of real leather - chocolate brown, deep burgundy, rich camel or deep plum.
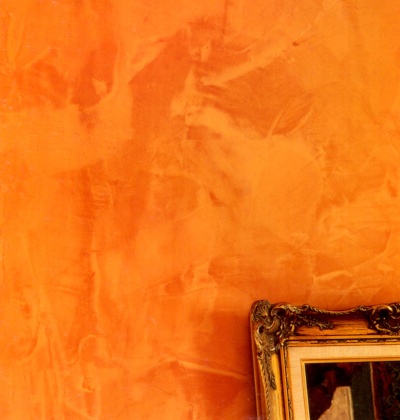
Another realistic effect you can achieve with negative ragging faux finish techniques is shown in the photo above.
Done in orange over yellow, and executed with plastic sheets laid over and pushed on the wet glaze, the surface looks like stone or venetian plaster, with its blurred imprints and smeared color variation.
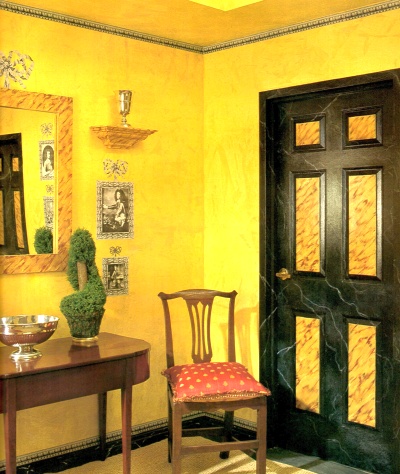
In this room, plastic was just applied and then removed from the wet top glaze (without moving it around), producing a slightly "cleaner" effect.
As you can see, there is no right or wrong here when glazing a surface - it's all about what you are going for and what looks good to you (and with your decor).
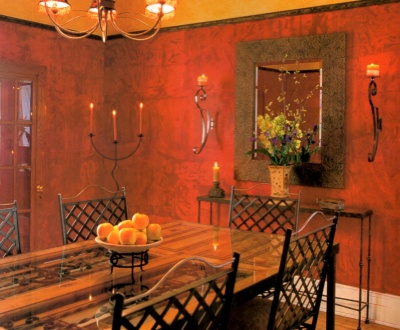
The lush velvety walls in this Spanish dining room have the same painted finish as in the previous examples of ragging with plastic.
But because of the colors used (a burgundy shade over a fire red), the top glaze looks almost like a layer of black sheer veil over the red.
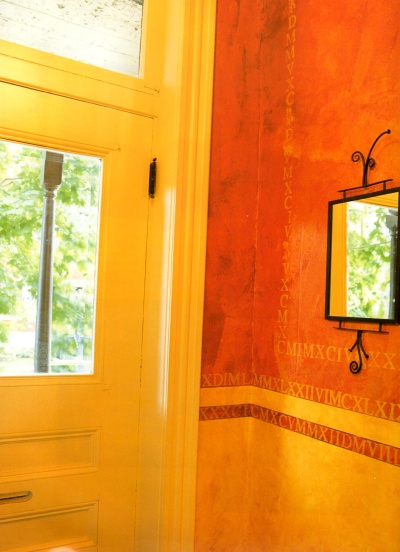
And again, you don't ever have to stop at just ragging.
Look how much more interesting and chic this finish becomes with a touch of stencils over it.
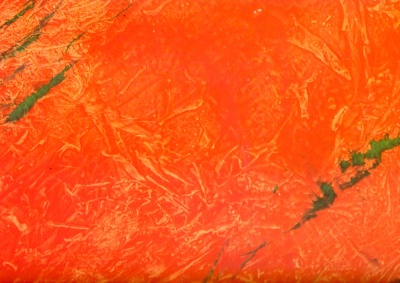
Or, you can add some "veins" to your ragged off finish to make it look very much like marble.
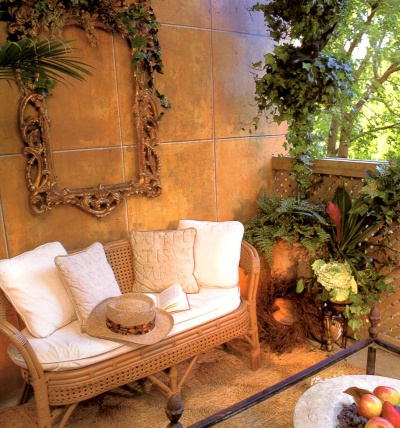
The look of stone was rag painted over these huge cement balcony wall tiles using a mixture of terra-cotta colors.
The decorative scheme blends harmoniously with these warm shades to create a sunny outdoor room.
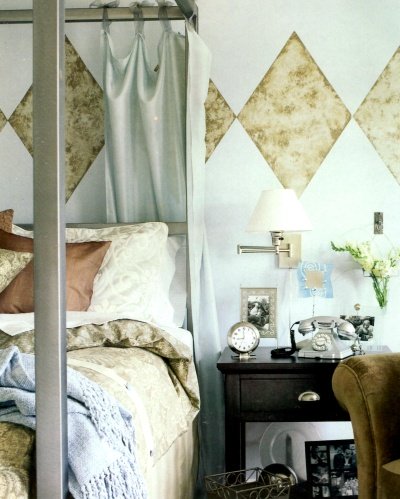
Here, the faux "stone" tiles are used only as a single-row band around the perimeter of the room, but still add an interesting and unique style element to the space.
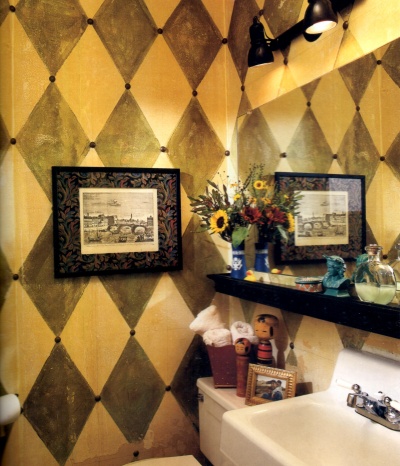
But even when not meant to look like the real thing, a ragged off finish is always decorative in itself - like in this bathroom example, where the painted on diamond "tiles" were distressed with a cloth to soften the contrast of the yellow and black, and give the walls an aged feel.
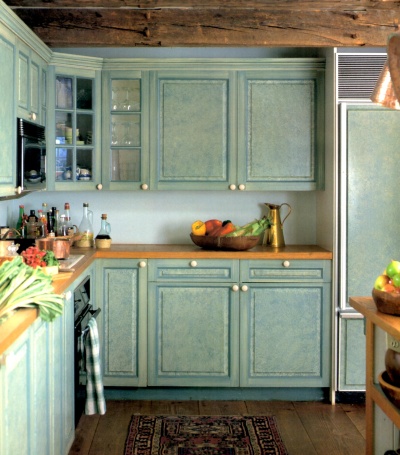
Kitchen cabinets take on a chabby chic look when ragged off in vintage colors, such as the butternut yellow and aqua blue shown here.
Notice how the overlay of the blue over yellow creates an overall greenish tone, due to the color mixing effect.
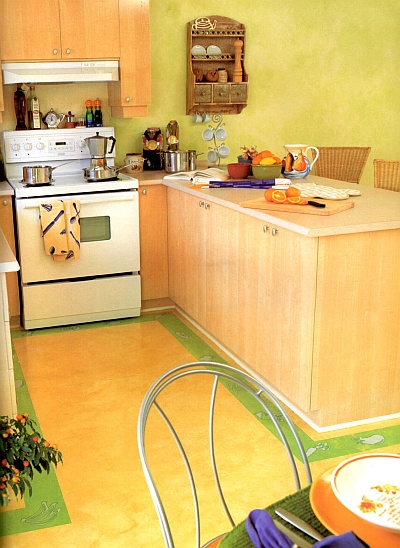
And in this kitchen, even the floor is painted and ragged off for a fun, one-of-a-kind effect - proving that the choice of surface for this faux finish technique is limited only by your imagination.
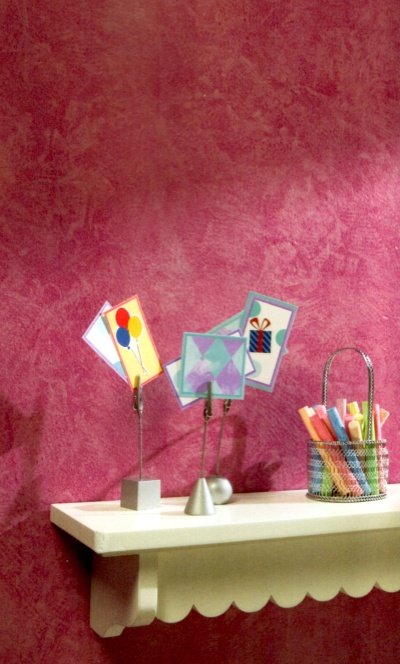
The best part of rag painting is, you can use the same exact technique but change the material for your rag, and the result will look different.
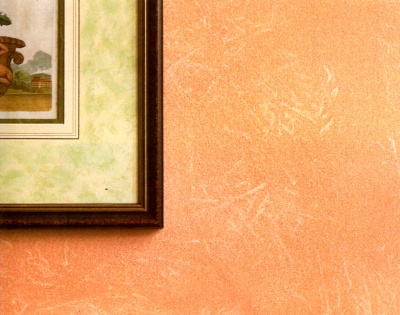
The pink finish above is how negative rag painting looks when done with a ribbed terry cloth.
And here you can see the imprints left in wet glaze by scrunched up paper bags.
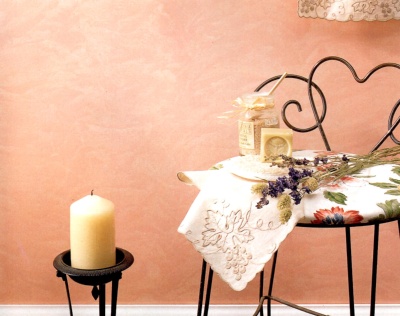
Keep in mind also that how lightly or heavily you rag a wall also affects the final look. In the photo above, the wall was ragged fairly lightly to leave quite a lot of the top coat color intact.
And last but not least, an example of rag rolling off and the more linear pattern it leaves behind.
Even though this faux finish technique can look busy and dated if done in too contrasting colors, in subtle, tone-on-tone combinations it's a beautiful choice for intimate spaces such as bathrooms, bedrooms and dressing rooms.
Rag Painting Projects
from Our Visitors:
Enjoy, get inspired and don't forget to leave a comment!
And if you have your own rag painting project to share, click here and see your name in lights.
Faux Leather Paint Effect on My Bedroom Walls
As a teenager I felt controlled by so many events and people of my life. I wanted to break away from the norm, and when I was allowed to paint my own room …
New Faux Paint Finish "Parchment" in Our Kitchen
My fiance has lived in his current house now for nearly 25 years. He took over the house when his mother got remarried and moved out. We obviously recently …
Ragging On the Gold Metallic Paint
Well, this is a picture of our bedroom. We like the look of wallpaper and we have wallpaper in many rooms in our house. But for this one, we decided to …
Faux Painting Finish "Ragging With Paper Towels"
This is the finish on the upper walls of my main bathroom. It was a happy mistake! This bathroom originally had wallpaper on it when we moved in. I’m …
Faux Painting Technique "Multi-Color Ragging"
This technique of dabbing/ragging was accidentally found. I wanted a textured finish but not a symmetrical one - something that would look un-structured …
Faux Painting Technique "Ragging"
I decided to redo my bedroom, but I knew that it's always best to pick your bedding before your wall color (easier to match that way). And I honestly had …
See Also:
Negative Rag Painting: How-to Tutorials
Tips and Tricks for Ragging Faux Painting Finishes







Leave a Comment: