How to Create a Heavy, Dense Sponged Paint Finish

Layered sponging creates the look of texture
Question:
If all sponged finishes are created using the same technique, how come they all look so different?I personally like the look of heavy, stippled texture, done in one color. How do I create it? Should I just dab harder?
Answer:
The basic technique for sponge painting usually remains the same.But, depending on the specific look you are after, you may need to experiment with your choice of sponge (for example, try a finer or a more coarse one, a differently shaped sponge or using the other sides of the one you have) or the number of layers your apply, and so on.
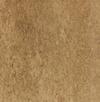
In your case, if you want to create a heavily stippled finish, you'll need to sponge on several coats of the same glaze in order to achieve a consistent textured effect.
Just doing one heavy coat will look sloppy and messy.
Here's how:
1) Dip a damp, clean sponge into a plate filled with your colored glaze, and lightly dab the excess onto some old newspapers.
2) Blot the sponge onto the wall without creating any overlapping marks. Use just the "tips" of the sponge, and don't apply too much pressure!
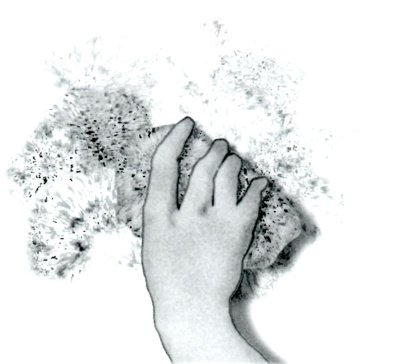
The surface should look spotty, with areas of bare wall showing though the glaze.
To stipple into the corners, use a small piece of the sponge. Let the surface dry.
3) Reapply the glaze, paying close attention to the areas that were missed in the previous coat.
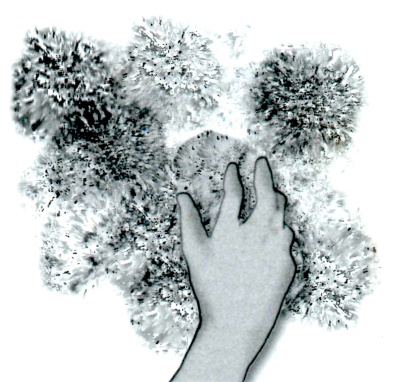
Two to three layers of glaze are usually required to achieve a uniform surface.
Although this method requires multiple applications of glaze, each coat goes on quickly and easily.
Good luck with your project - just remember that this method works best with tone-on-tone color combinations (and may look really gaudy with contrasting colors)!
Return to Sponging On Paint Techniques.

