How to Prepare, Fold and Hold a Cloth for Faux Rag Painting

The shape of your rag determines the imprint
Question:
How do you hold the cloth when rag painting? When I practice on sample boards, the imprints look different depending on how I bunch it up.Answer:
In order to create successful ragged finishes, you need to learn how to bunch or fold the cloth correctly.But first, you have to prepare it properly, and here's how:
Preparing the cloth
Using sharp scissors, cut up an old bedding sheet or T-shirts into several 6' pieces. Do not rip them to size because that will create frayed ends and loose threads that will stick to the glaze and ruin your fresh faux finish.
If using old T-shirts as rag material, make sure to also cut off the hem, neck and sleeves to avoid leaving hard "scars" on the glaze.
Folding it into shape
To rag on/off a finish with great contrast, texture and more distinct lines and grain, your cloth must be bunched up in random folds - the fewer flat areas, the better.
Grab an unfolded rag with one hand and bring your fingers together in a light fist. Your rag should have numerous and obvious folds, and look like a wrinkled pom-pom or a rose (see the example below).
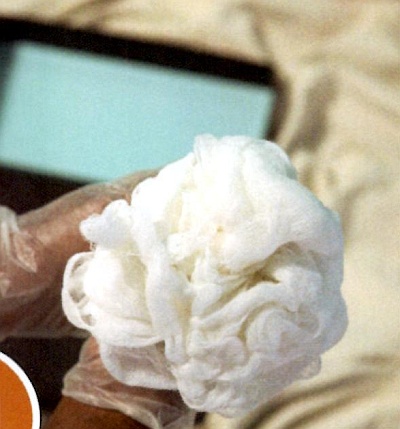
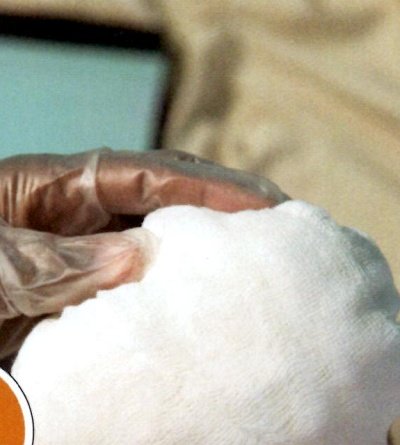
To rag on/off a finish with more consistent texture and fewer lines and edges, hold your cloth in a smooth pom-pom arrangement.
Use two hands to shape the rag into a round ball. Smooth out any wrinkles and hold the ball in one hand.
To roll on a finish with distinct edges and a linear effect, just roll fabric into a tubular shape.
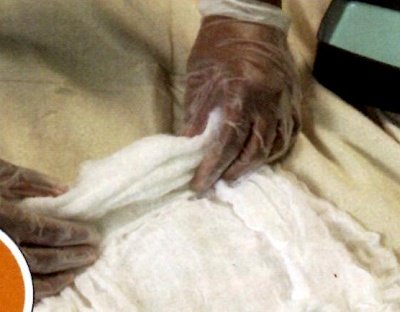
If you want, you can even tie each end of the roll with thin cotton string to maintain the rolled shape. Also optional is twisting lengthwise.
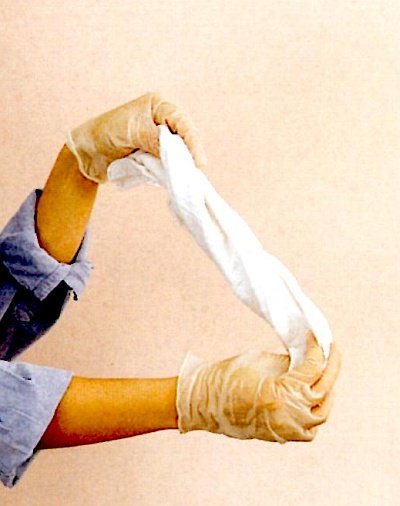
NOTE: Whatever rag folding method you choose, always tuck in (or under) all the cut ends and tails.
Click here to ask your own question about rag painting.


