How to Sponge On a Single Glaze Color - Alternative Application

Final result of this sponging technique
This sponging on method is a variation on the basic positive sponging technique (refer to it for a list of tools and materials, the glazing recipe and more detailed application instructions).
You may want to practice using both ways, to see which feels more comfortable to you and works better with the size and shape of your sponge (the main difference between these 2 versions is step 2).
Preparation
Apply the base coat and let it dry for a day.Mask off and protect any surfaces that won't be painted.
Mix the glaze and pour some of it into the paint tray.
Moisten the sea sponge with water and wring it out really well.
Application
1) Dip the flat side of the sponge into the paint mixture in the paint tray, coating the sponge evenly.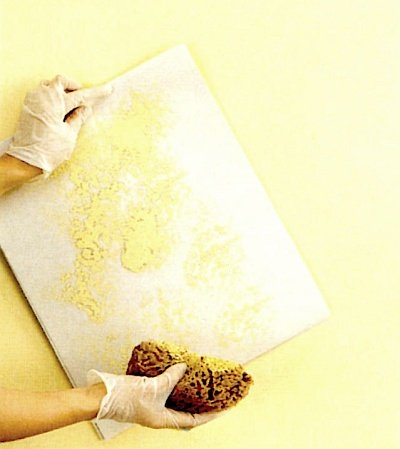
Squeeze out any excess glaze and blot the sponge on a sheet of paper until you get a neat pattern without smears or blobs.
2) Starting with a 3'x3' area, lightly pounce the surface with the sponge, using quick movements of your wrist.
Space the dabs approximately 3" apart in a random pattern.
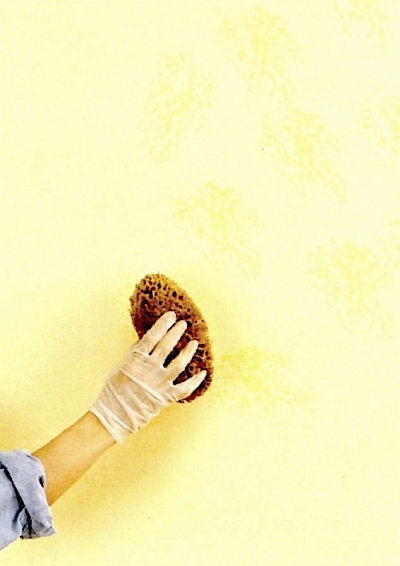
Vary the painted print by rotating the sponge each time you lift it. Just be careful not to rotate the sponge on the surface, or the glaze will smear.
3) Gradually fill in the spaces until the surface is evenly covered.
You should not be able to see where one impression leaves off and another begins.
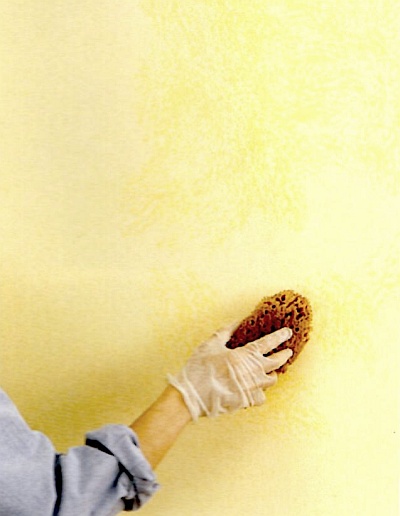
Leave the leading edge of the section irregular so that you can join the adjacent section without creating a visible demarcation line.
4) Reload the sponge, blot it and then repeat with the next section.
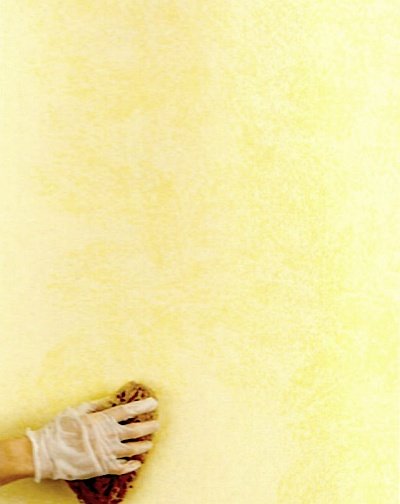
The completed surface should be evenly sponged, with no open areas of base coat showing through.
Return to Sponging On Paint Techniques.


