How to Sponge On with 2 Glaze Colors
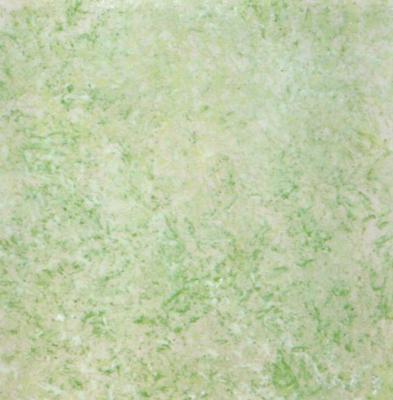
2-color additive sponging finish
Once you've successfully sponged on a single glaze color, you can stop there and enjoy the simple textured look of the finish.
Or, you can build on the basic technique and add another layer of glaze on top, for a more interesting color play.
Overview
You'll need the same tools and materials as for the basic sponging on method + one more latex paint in a different color for mixing the second glaze.First, the surface receives a base coat (don't forget, this coat will be one of the colors seen on the surface).
Then, when it's thoroughly dry, you sponge on 2 slightly contrasting coats of glaze, using the usual application method.
In the photo examples below, the base coat is a warm white paint applied with a roller. The first sponged on coat is a medium taupe color; the second layer of glaze a brownish shade.
Application
1) Mix the first color glaze and pour a small amount of it into a paint roller tray.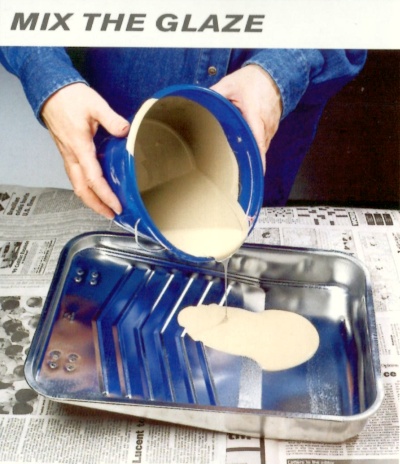
Hold a dampened sponge flat side down, and dip it into the glaze. Gently slide the sponge over the ridges of the tray, so that it becomes evenly coated.
Off-load any excess glaze onto some old newspapers.
2) Sponge the walls gently and evenly, as described in the basic sponging on tutorial (see the link to it in the Overview above).
Avoid creating an identifiable pattern.
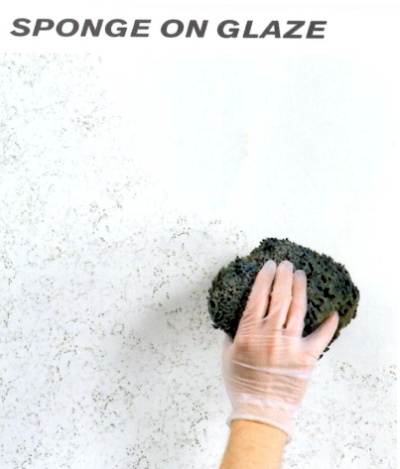
Reload and off-load the sponge as necessary. This step covers about 40% of the base coat.
3) Mix the second color glaze while the first coat is drying, and wash the sponge.
Let the first coat dry before applying the second coat.
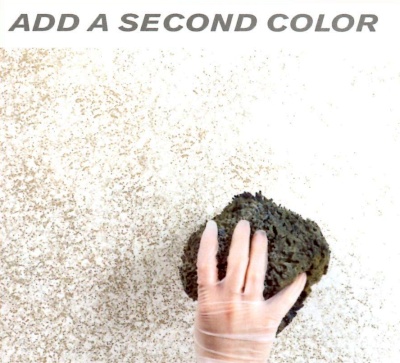
Repeat Steps 1 and 2 with this new glaze color, sponging it on so that it covers another 40% of the wall surface.
4) The final finish will reveal about 20% of the base coat color (the photo is a bit overexposed).

The overlapping areas create the illusion of depth and texture and if you've done it properly, the colors should be all blended, with the strokes indistinguishable from one another.
Return to Sponging On Paint Techniques.


